Walkthrough 2-2: Create a Mule application with Flow Designer
In this walkthrough, you build, run, and test a basic Mule application with Flow Designer. You will:
· Create a new Mule application project in Design Center.
· Create an HTTP trigger for a flow in the application.
· Add a Logger component.
· Run and test the application.
· View application information in Runtime Manager.
Create a Mule application project in Design Center
1. Return to Anypoint Platform.
2. In the main menu, select Design Center.
3. Click the Create new button and select Create new application.
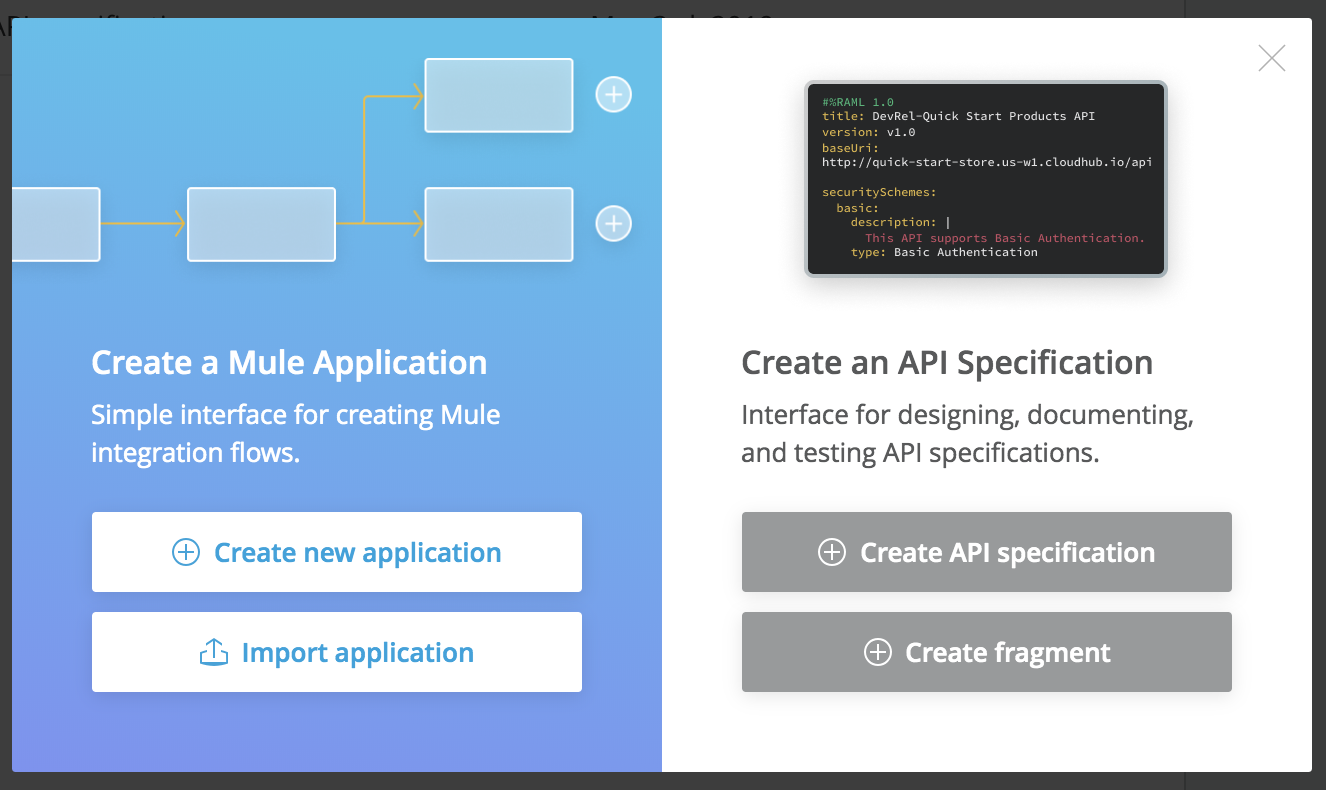
4. In the New Mule Application dialog box, set the project name to American Flights App and click Create.
5. In the Let's get started dialog box, select the Go straight to canvas link; Flow Designer should open.
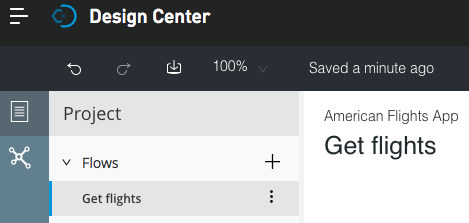
6. Click Design Center in the upper-left corner; you should return to the Design Center.
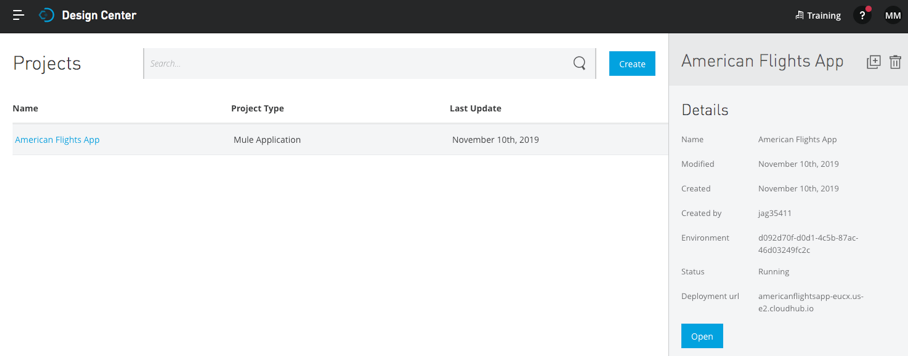
7. In the Design Center project list, click the row containing the American Flights App - but not the American Flights App link; you should see information about the project displayed on the right side of the page.
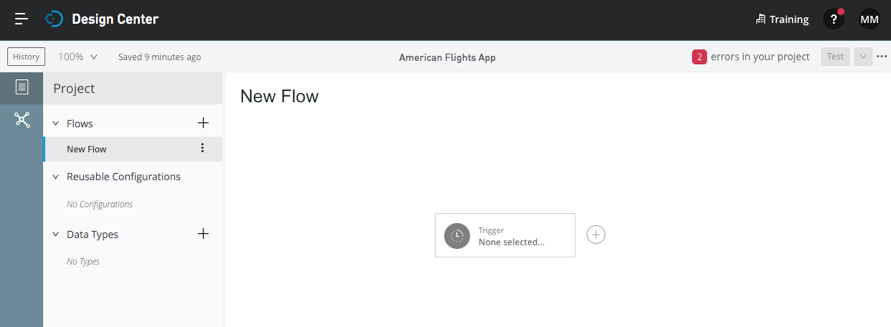
8. Click the Open button or click the American Flights App link in the project list; the project should open in Flow Designer.
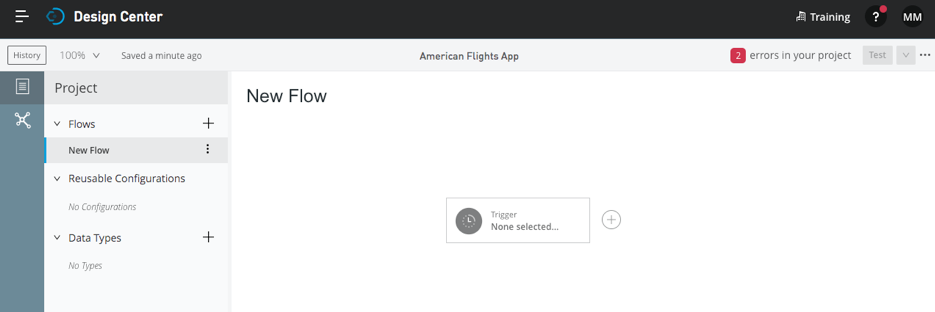
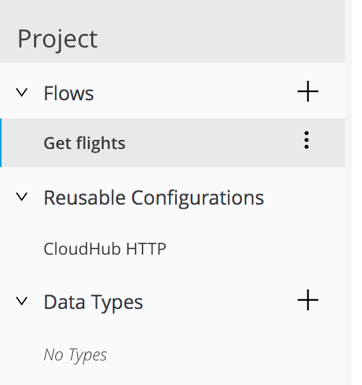
Rename the flow
9. Locate New Flow in the project explorer.
10. Click its option menu and select Rename.
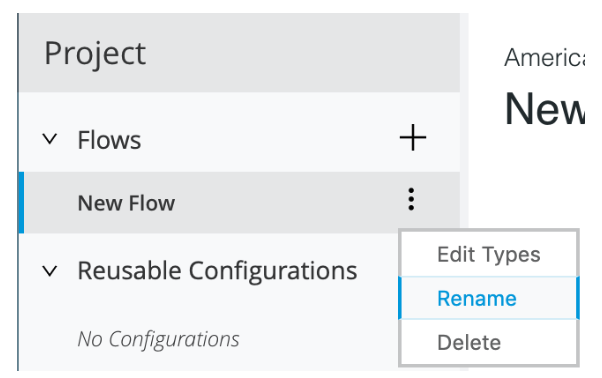
11. In the Rename Flow dialog box, set the name to Get flights and click OK.
Create an HTTP trigger for a flow in the application
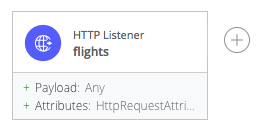
12. In Flow Designer, click the Trigger card.
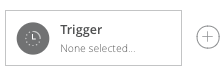
13. In the Trigger card, select HTTP Listener.
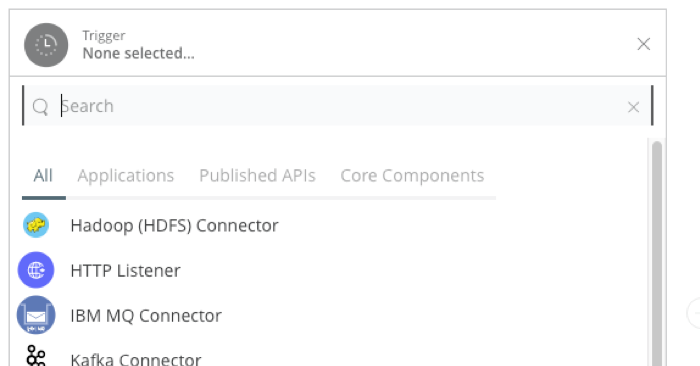
Note: Use your arrow keys or mouse scroll wheel if dragging the Triggers card's scroll bar does not work.
14. In the HTTP Listener dialog box, set the path to flights.
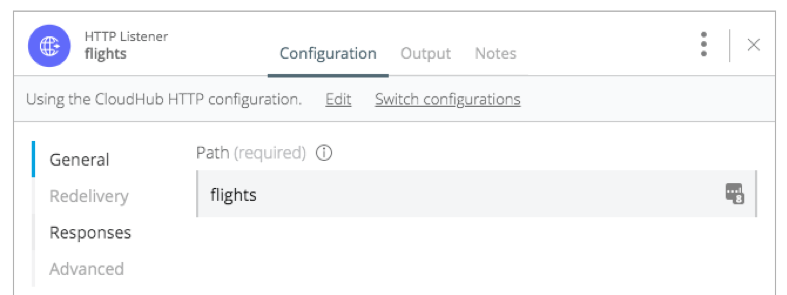
15. Look in the configuration bar above the path; you should see that the default CloudHub HTTP configuration is being used.
16. Locate the CloudHub HTTP configuration in the project explorer; this default configuration uses the local host (0.0.0.0) and a port of 8081.
17. Close the HTTP Listener dialog box.
Add a Logger
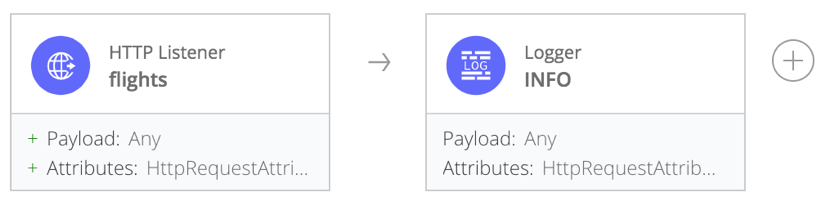
18. Click the add button next to the HTTP Listener card.
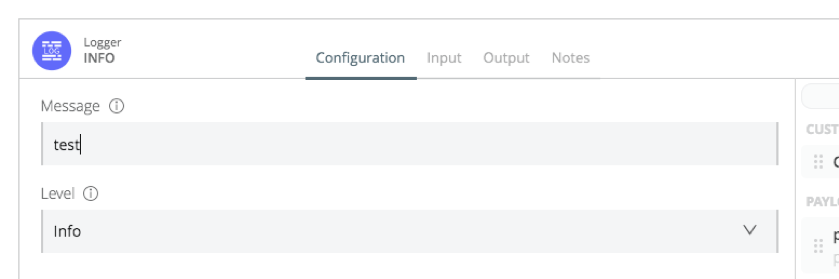
19. In the Select a component dialog box, select Logger.

Note: Use your arrow keys or mouse scroll wheel if dragging the Triggers card's scroll bar does not work.
20. In the Logger dialog box, set the message to test.
21. Close the card.
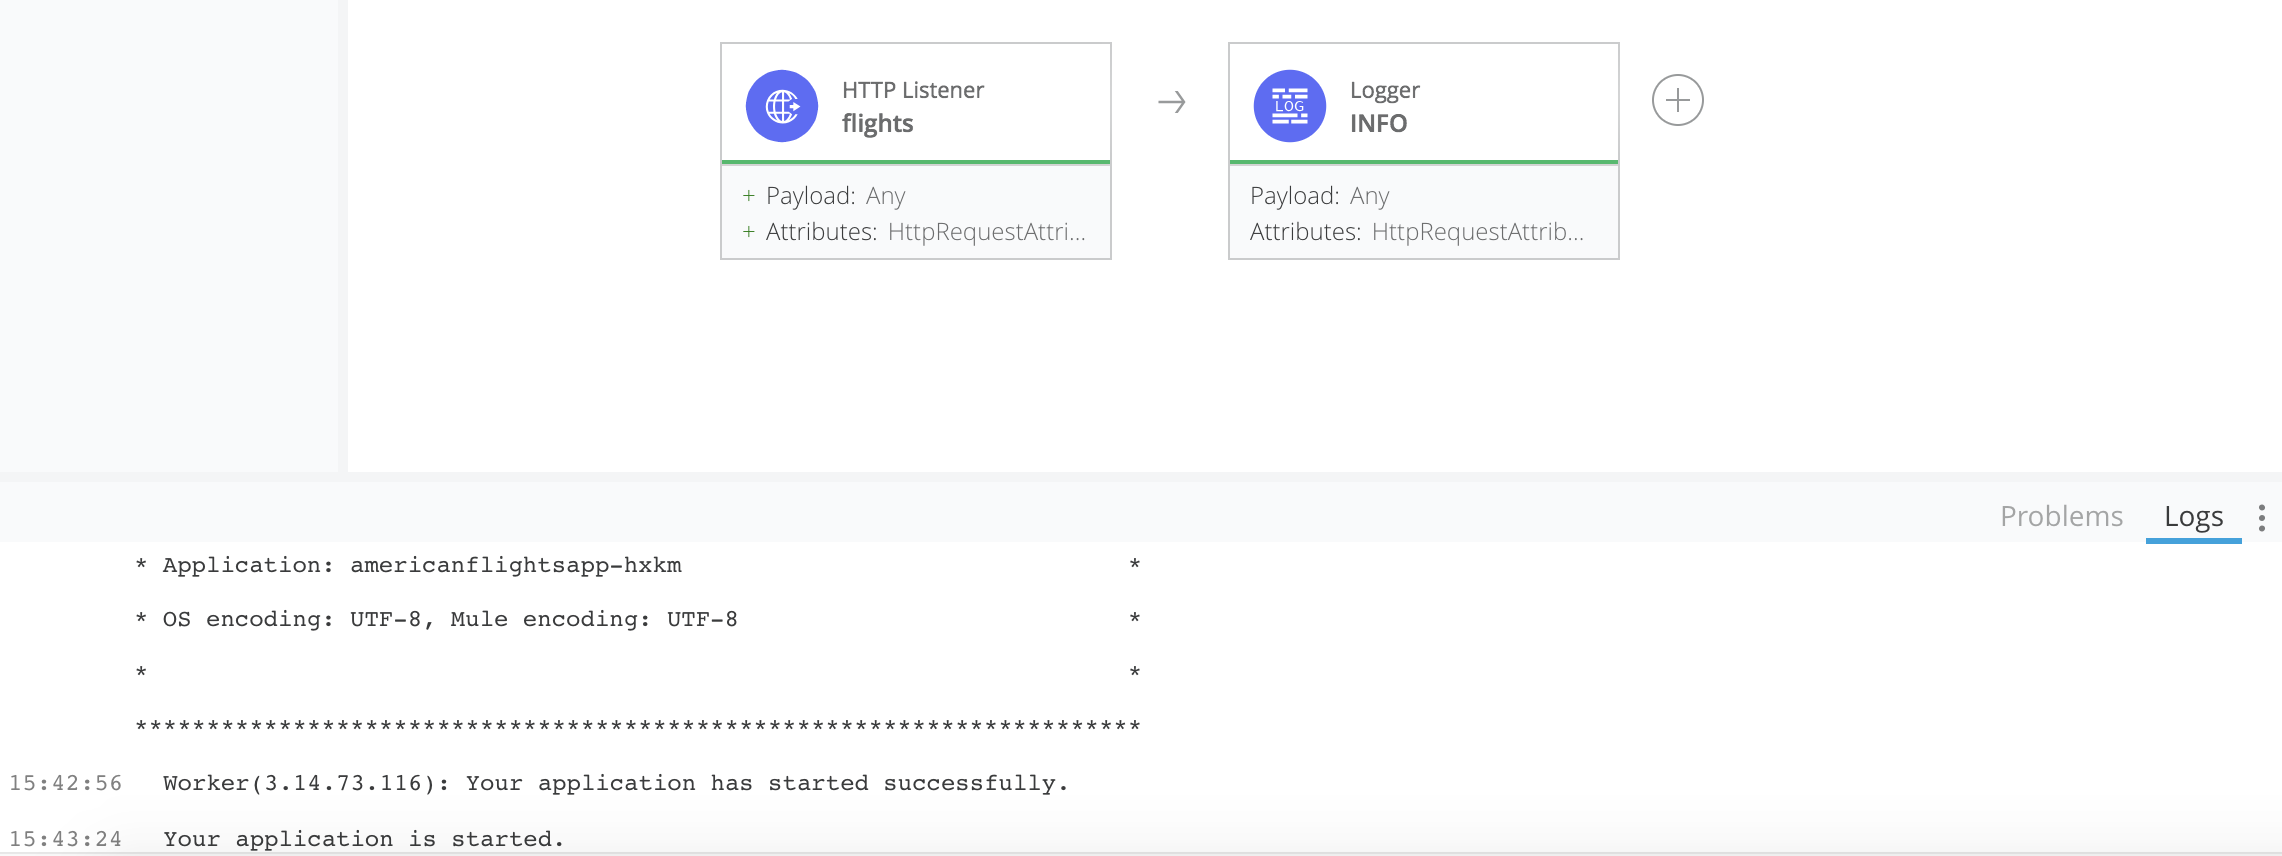
22. Notice that there are gray lines across the middle of both cards.
Run the application
23. Click the Logs tab located in the lower-right corner of the window; you should see that your application is already started.
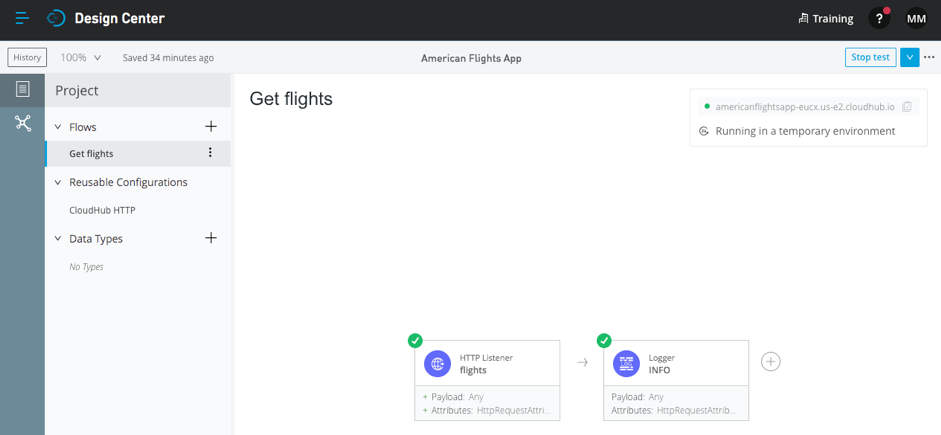
24. Click the Test button in the main menu bar.

25. Ensure application status changes from Test to Preparing to test to Stop test.

Note: If your application fails to run, look at the messages in the Logs panel. If there is no message about incorrect syntax, try restarting the workspace by clicking the options menu in the application status area and selecting Restart workspace.
26. Near the upper-right corner, locate the box which contains the generated URL for the application.
Note: A four-letter suffix is added to the application name to guarantee that it is unique across all applications on CloudHub.
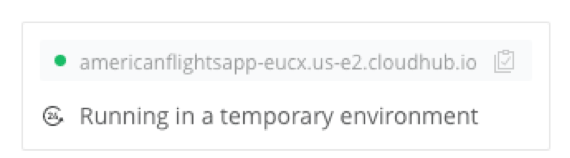
27. Click the icon to the right of the generated URL to copy its link.
Test the application
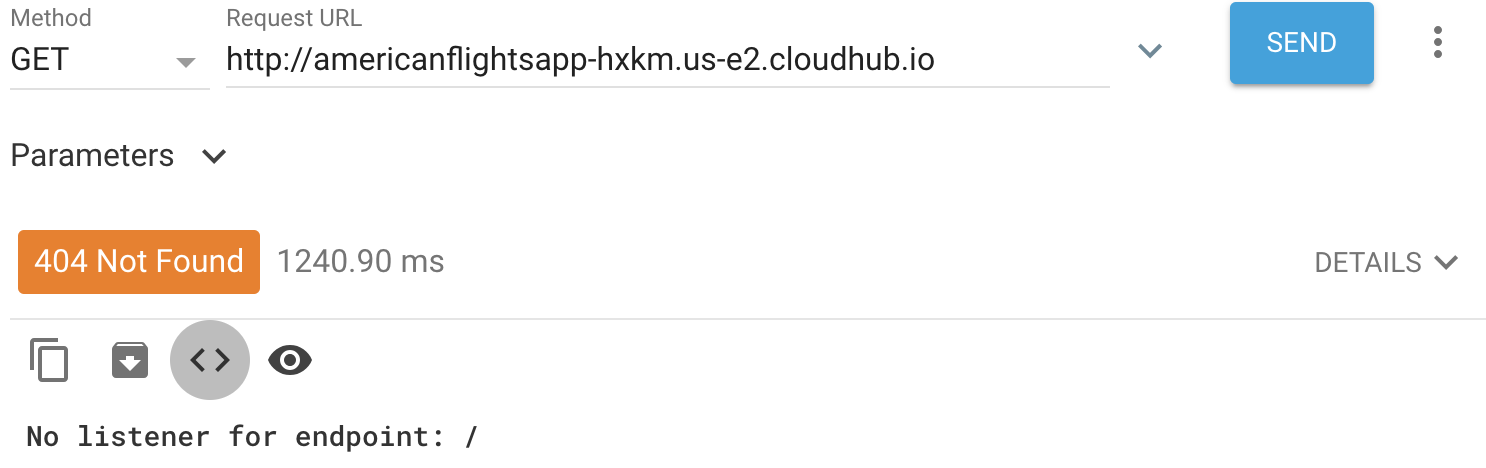
28. Return to Advanced REST Client, paste the copied link, prepend it with http://, and click Send; you should get a 404 Not Found status with the message No listener for endpoint: /.
29. Add /flights to the path and click Send; you should get a 200 response with no body.

30. Click Send again to make a second request.
31. Return to Flow Designer.
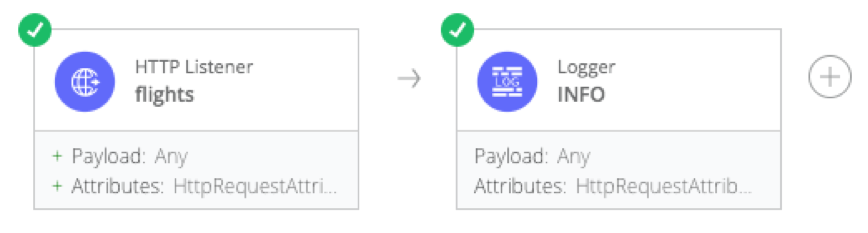
32. Notice that there are now green check marks on both cards.
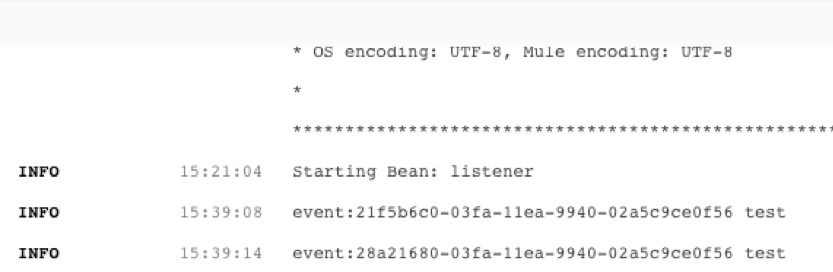
33. Look at the logs; you should see your Logger message displayed twice.
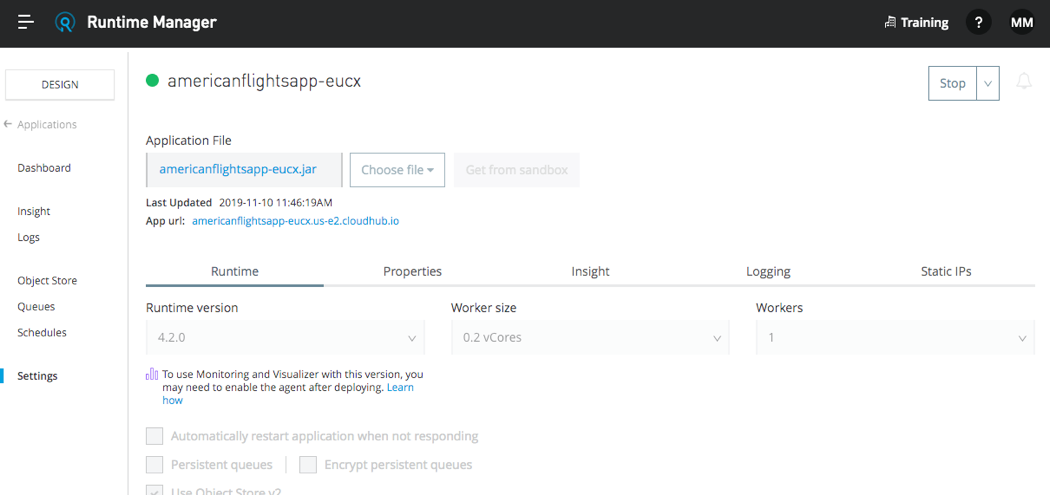
View the application in Runtime Manager
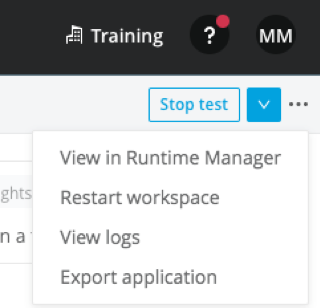
34. Click the options menu in the application status area and select View in Runtime Manager; Runtime Manager should open in a new tab.
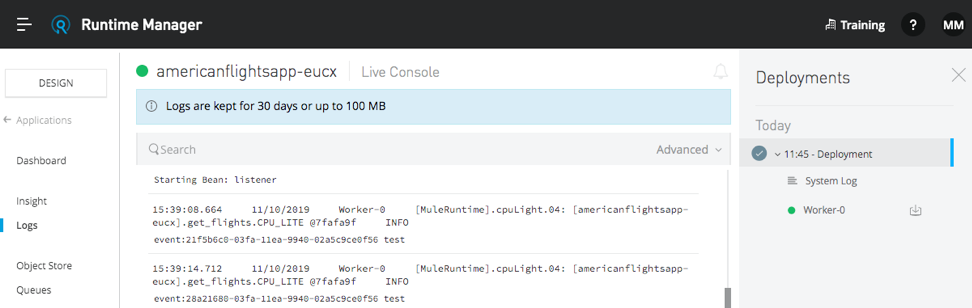
35. In the new browser tab that opens with Runtime Manager, review the application log file; you should see your test log messages.
Note: If you are prompted to select an environment, select Design. If Runtime Manager still fails to launch in context, close the tab and select View in Runtime Manager again. Once the launch is successful, refresh the page if the left-side navigation is incomplete
36. In the left-side navigation, click Settings.
37. Review the settings page and locate the following information for the application:
· To which environment it was deployed
· To what type of Mule runtime it was deployed
· To what size worker it was deployed